If you actively use Instagram*, you probably noticed that the quality of photos after publication is slightly deteriorating. All because of the compression algorithm that the service uses to store millions of snapshots on its servers.
For many, it is important that their images look as sharp and high-quality as possible. This is especially true for photographers and bloggers, whose income depends heavily on how aesthetically pleasing their content looks.
Here are some simple tips that will help you post pictures on Instagram* as pleasant to the eye as possible. All you need is Photoshop and a little time.
Open the image you want to edit. You need to find out which color profile is being used at the moment. To do this, click on the arrow in the lower left corner of the screen, which is located next to the photo zoom indicator, and select "Document Profile".
Most likely, you will see that the ProPhoto RGB color space is being used. Because of it, the colors on the smartphone will differ from those displayed on the computer screen. So you need to switch to sRGB.
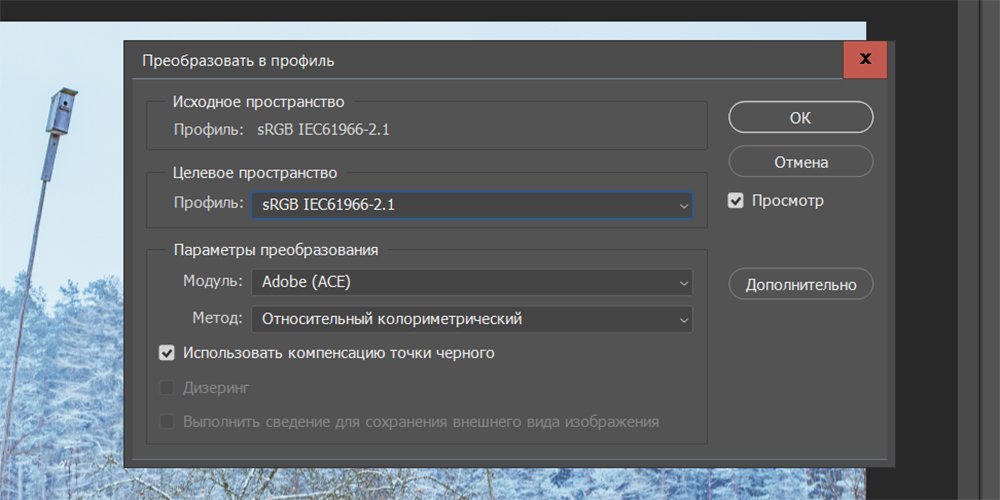
This will also help make the colors on the mobile device identical to those you see on the PC.
To see how your photo will look on Instagram* on your computer, change the background in Photoshop from standard gray to white. This can greatly affect the perception of the image as a whole.
Right-click on the background and click "Select a different color". Then select white on the palette and click OK.
By adjusting the colors of the image, you can make the picture more noticeable in the feed. In the lower right corner, click on the icon with the circle divided in two and create a "Selective Color Correction" layer.
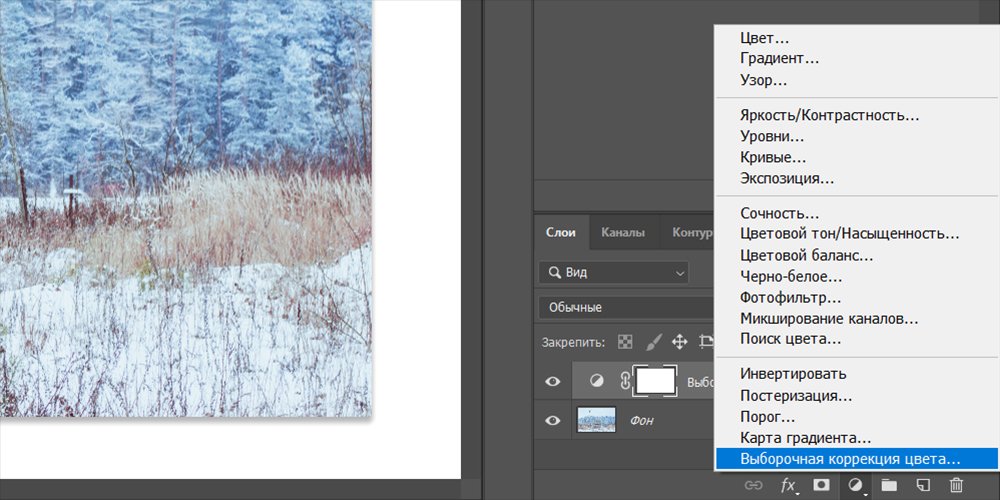
Select the layer with the left mouse button, and just above you will see the sliders "Blue", "Magenta", "Yellow" and "Black". Experiment with them to change the saturation of individual colors.
In Instagram*, you can publish photos only with a certain aspect ratio — otherwise the service cuts them. It will be much better if you do it yourself.
In the panel on the left, select the "Frame" tool and just enter the desired aspect ratio at the top. For example, 4:5 is suitable for portraits, and 1.9:1 is suitable for landscapes. Then simply select the desired area of the snapshot.
The maximum size of an image in Instagram* is 1,080 pixels wide. If you upload a larger image, the service compresses it, which may affect the quality.
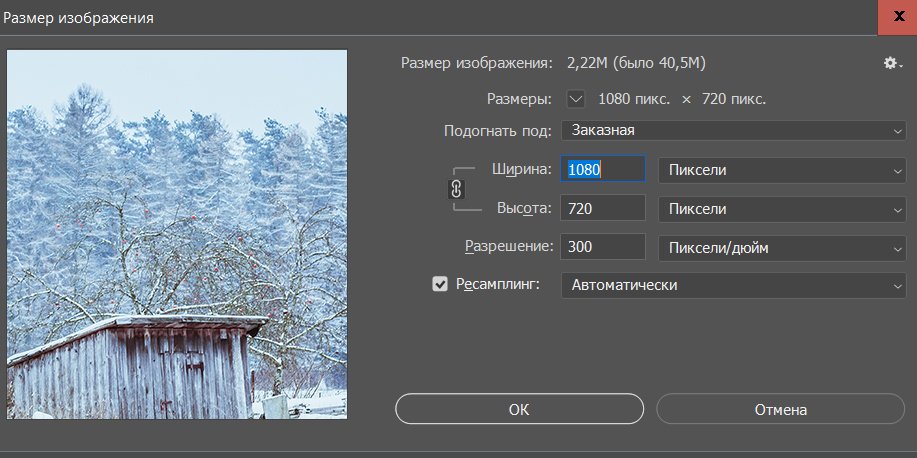
To adjust the size yourself, click on the top panel "Image" and select "Image Size". In the "Width" field, enter 1,080 — the height will change automatically. The other parameters can be left untouched.
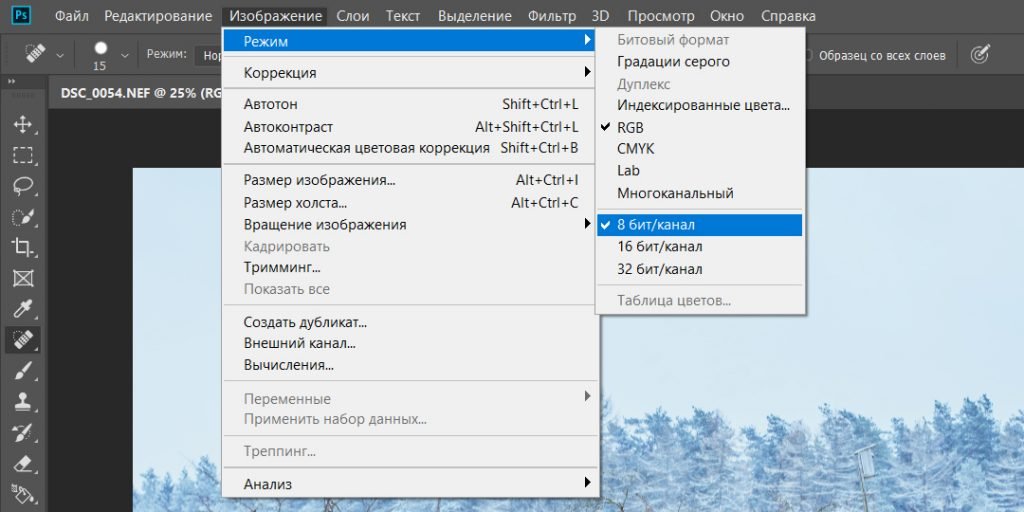
Press Ctrl + Alt + Shift + E to create a layer that combines all the previous ones. After that, you can make the picture sharper.
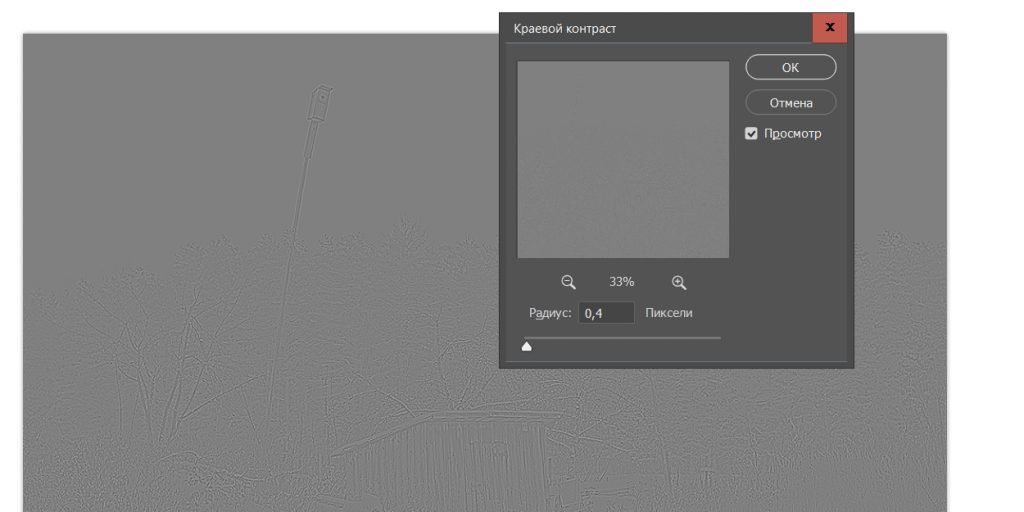
That's it! Your photo is sharp and ready for publication. It remains to save it and send it to the phone.