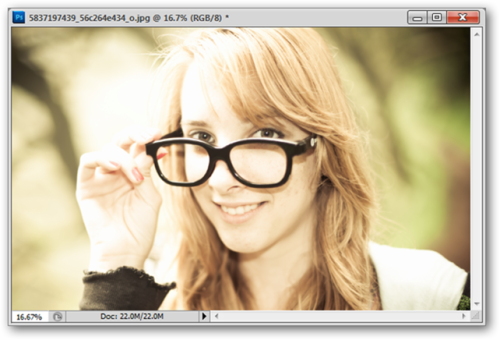
There is a special technique for making 3D images — anaglyph, which usually consists in taking an object from different points and then combining the images. But today we will achieve the same effect using the color channels of photography. Open a suitable photo, let's get started.
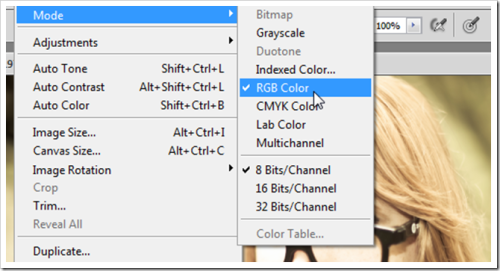
You can use any image, but you definitely need to switch to RGB Color mode. If you are in Grayscale, Indexed Color or CMYK mode, then you need to switch to RGB (Photoshop: Image > Mode > RGB Color).
Note: This method is suitable for those image editors that allow you to mess with color channels, for example, Photoshop or GIMP. Photoshop Elements and Paint.NET do not allow to use this method of photo editing.

First, make several copies of the photo (left screenshot). The easiest way to do this is to right—click on the "Background Layer" and click "Duplicate Layer". After making 2 copies, select the top one and go to the channel panel. You can see it by clicking Window > Channels. In the channel panel, select Red channel, as shown in the right screenshot.
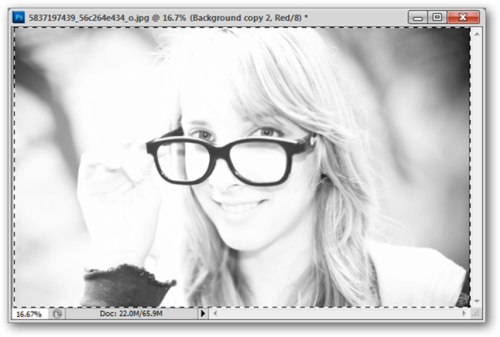
Press Ctrl+A (in both Photoshop and GIMP) to select the entire canvas completely. The photo should turn out in gray tones, if your photo looks like in the picture, then you are moving in the right direction.
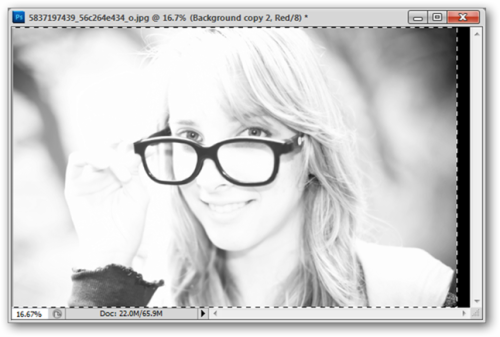
Press V to select Move Tool (in GIMP, press M), and move the red channel layer to the left, as shown in the figure.
 Moving the channel layer, make sure that the background is black, as shown on the left. You can set the background color by clicking on the switch in the toolbar.
GIMP has similar tools in Toolbox, almost like in Photoshop.
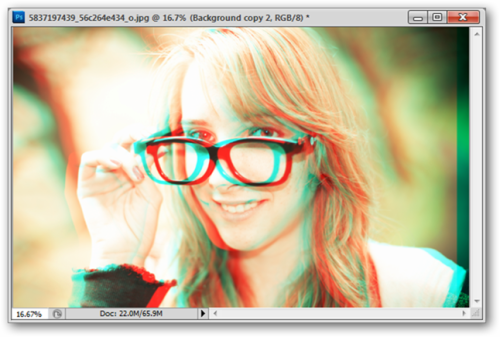
In Photoshop CS5, the keyboard shortcut Ctrl+2 will return you to RGB mode. In other versions, just go back to the layers panel and select the new active layer. You can stop there, since you have already received a decent 3D image, but you can work a little more and add depth to it.
At this stage you should have several copies of your original photo, let's go back to the top layer in which we created the 3D effect.

Create a mask as shown in the screenshot on the right by selecting a layer and clicking on the button at the top of the layers panel. In GIMP, right-click on the layer and select "Add Layer Mask" and "White for Full Opacity".
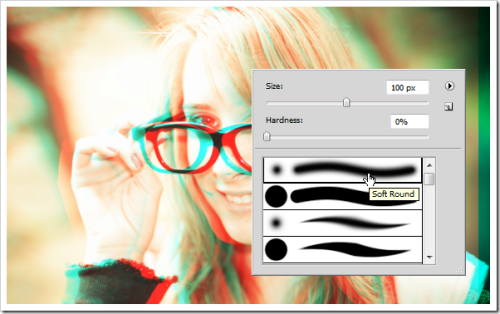
Use soft brush to mask some areas in the top layer. The goal is to return part of the background to its original appearance.
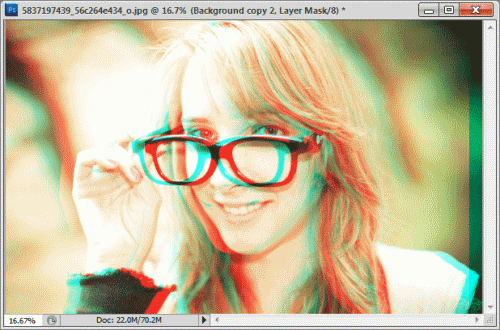
Here are the before and after photos. In a layer with a 3D effect, the background is from a layer without a 3D effect.
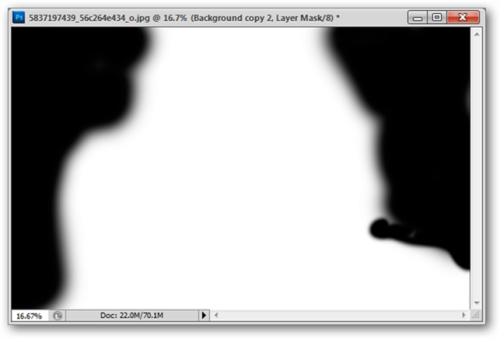
In the picture you can see what the mask looks like.

Now go to the lowest layer and edit it. Let's choose the red channel for this layer.
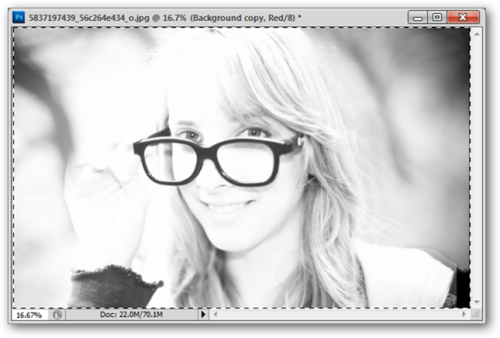
And now we will perform similar actions. Select the entire canvas (Ctrl+A), but apply a slightly different effect to the background.
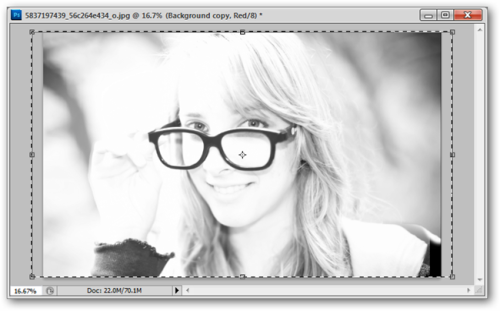
Use Ctrl+T to select the "Free Transform" function. And freely change the layer of the red channel. You can distort, zoom in, rotate, in general, you need to make the foreground and background different from each other.
In GIMP, this tool is called the "Scale Tool", keyboard shortcuts: Shift + T.
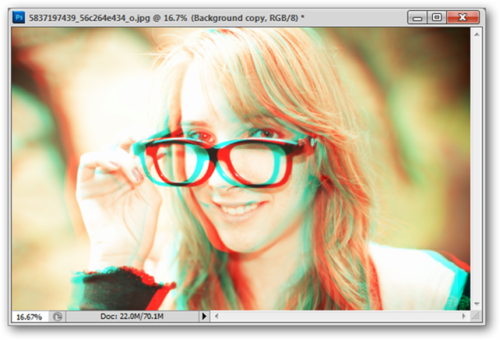
That's it! The photo is ready. Put on 3D glasses and enjoy the result! And if you don't have them, then watch a Youtube video on how to make 3D glasses yourself.