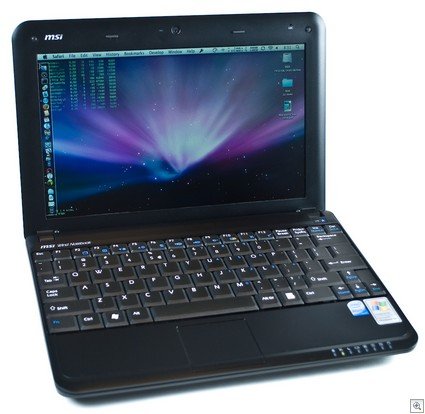
Almost every Apple fan would like to have a stylish MacBook Air laptop. But the cost of this high-tech device is such that not every Apple fan can afford it. If you belong to the category of people called enthusiasts, then for relatively little money you can realize your dream.
To do this, we will need:
Total: ~$640
Let's get down to the hardware. To begin with, remove the battery and unscrew the 9 screws on the back cover of the laptop. Remove the cover and change the existing WLAN adapter to Broadcom DW 1390 or 1490. Then we insert an additional RAM module into the free slot. That's all, now we tighten all the screws back, connect the battery, the external drive and move on to the software part.
First of all, you need to make a backup copy of the hard drive in case we want to go back to Windows. Done, now insert the disk with the prepared OS X Leopard 10.5.4, and turn on the laptop power. The familiar MSI logo appears on the screen, after which we immediately press the space bar and start loading from the optical disk. After about 5 minutes, the graphical interface of the OS X installer will appear in front of us. Next, select the language, preferably English (English), mark up the working disk through a special utility (Disk Utility), accept the license agreement and specify the installation location of the system. Now comes the important moment: go to Install Summary, select Customize, find Patches, then Kernel and uncheck it. After that, click done and go back to Install Summary and select Install and recline on the back of the chair … waiting for the installation to finish. When OS X is installed, disconnect the external drive and enjoy the result.

If everything went fine, almost all devices will function normally. The exceptions will be the built-in microphone, as well as the audio output and line-in microphone.
Bottom line: after spending about $ 640 and about an hour and a half of time, we have an almost full-fledged MacBook Air killer and eyes watering with happiness.